Platelet-Rich Plasma (PRP) therapy, a cutting-edge medical marvel, has gained immense popularity for its remarkable ability to stimulate natural healing and rejuvenation. But have you ever wondered about the intricate process that goes into preparing PRP using a PRP kit? In this blog, we’ll unveil the fascinating journey of how PRP is meticulously crafted, unleashing your body’s own healing power.
The Foundation: Your Blood
The story of PRP begins with you, or more specifically, your blood. Unlike the mythical philosopher’s stone that transformed base metals into gold, your blood is already a precious substance brimming with potential. It’s composed of various components, including red blood cells, white blood cells, plasma, and the stars of our show, platelets.
Step 1: Blood Collection
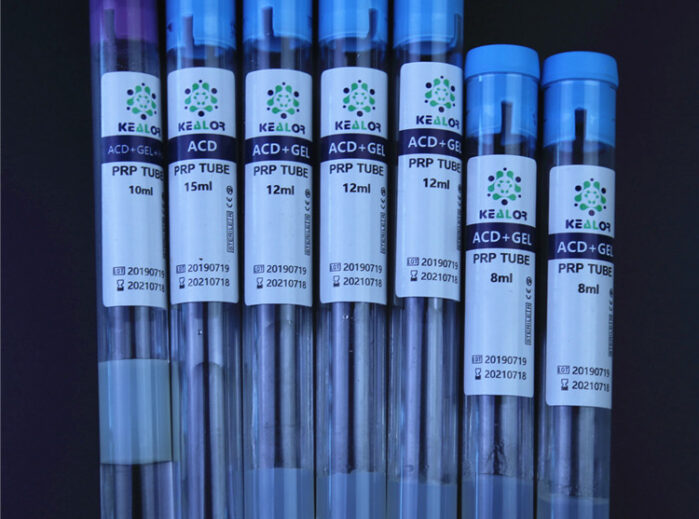
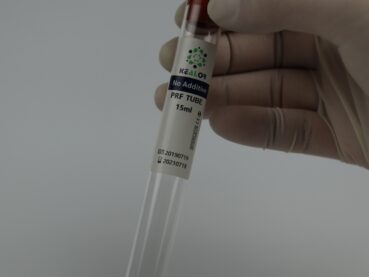
The journey starts with a simple blood draw, much like a routine blood test. A healthcare professional will use a sterile needle to collect a small sample of your blood into specialized blood collection tubes. These tubes are designed to preserve the blood’s integrity and prevent clotting.
Step 2: Centrifugation Magic
Now, the real magic begins with the use of a centrifuge machine. This sophisticated device is a critical component of the PRP kit. The collected blood sample is placed in the centrifuge, which rapidly spins it at high speeds. This process is akin to a mini-tornado inside the machine.
Step 3: Centrifugation Process
During centrifugation, the blood components begin to separate due to their different densities. The heaviest component, red blood cells, sinks to the bottom, while the lighter components, including plasma and platelets, rise to the top. This separation is crucial because we want to isolate the platelets, which are loaded with growth factors that drive the healing process.
Step 4: PRP Collection
After centrifugation, the PRP layer is carefully extracted using a special syringe or pipette. This concentrated PRP is a golden elixir of sorts, containing a higher concentration of platelets and growth factors than your whole blood.
Step 5: Activation (Optional)
Depending on the intended use, an activation step may be included. An activator, often calcium chloride, is added to the PRP to kickstart the platelets’ regenerative functions. This step is particularly beneficial for certain applications, such as wound healing.
Step 6: Ready for Application
Now that the PRP is prepared and, if necessary, activated, it’s ready for application. It can be injected into the target area, applied topically, or used in various medical procedures, depending on the purpose of the treatment. The high concentration of platelets and growth factors in PRP accelerates healing, promotes tissue regeneration, and reduces inflammation.
Conclusion
The journey of how PRP is prepared using a PRP kit is a testament to the marvels of modern medicine and the body’s innate capacity to heal itself. From a simple blood draw to the high-speed spinning of a centrifuge, PRP is meticulously crafted to harness your body’s natural healing power.
As PRP therapy continues to evolve, it opens up new horizons in healthcare, offering hope and transformative possibilities for patients seeking non-surgical, regenerative solutions. The next time you hear about the wonders of PRP, you can appreciate the intricate process that turns a small sample of your blood into a potent elixir of healing and rejuvenation.


