Step-by-step explanation of the process of obtaining Platelet Rich Plasma (PRP) using a PRP kit:
Step 1: Preparation Before starting the PRP preparation process, ensure that you have all the necessary equipment and follow aseptic techniques to maintain sterility.
Step 2: Patient Preparation
- Explain the procedure to the patient, obtain informed consent, and address any questions or concerns.
- Clean and disinfect the patient’s skin at the site where the blood will be drawn.
Step 3: Blood Collection
- Use a sterile needle and syringe to draw a specified amount of the patient’s blood. The amount of blood collected may vary depending on the intended application and the PRP kit being used.
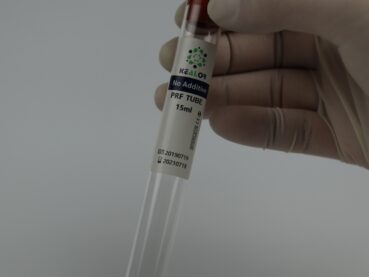
- Collect the blood into the specialized PRP collection tube provided in the kit. These tubes are often coated with an anticoagulant to prevent clotting.
Step 4: Centrifugation
- Place the PRP collection tube containing the patient’s blood into a centrifuge. Ensure that the tube is properly balanced to prevent wobbling during centrifugation.
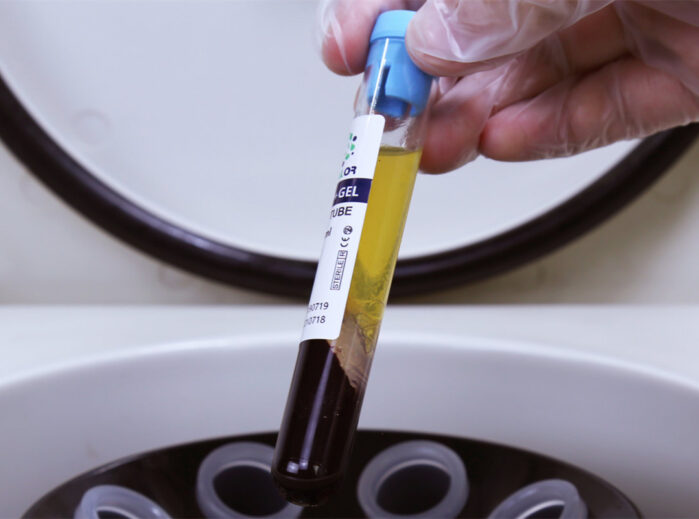
- Centrifuge the blood at a specific speed and duration as recommended by the PRP kit’s manufacturer. This step separates the blood components based on their density.
Step 5: Separation of Components
- After centrifugation, the blood components will be separated into layers. The bottom layer contains red blood cells (RBCs), the middle layer is PRP, and the top layer is platelet-poor plasma (PPP).
- Carefully remove the PRP layer without disturbing the RBC layer or the PPP layer. Use a syringe or pipette to extract the PRP, transferring it to a separate sterile container provided in the kit.
Step 6: Activation (Optional)
- Some PRP protocols involve the activation of PRP using specific activators or additives. Follow the manufacturer’s instructions regarding activation, if applicable.
- Activation is done to stimulate the release of growth factors from the platelets, enhancing the therapeutic potential of PRP.
Step 7: PRP Injection
- Once the PRP is prepared, it can be injected directly into the targeted area (e.g., joints, skin, scalp, etc.) using sterile needles and syringes.
- The injection technique and location will depend on the specific medical or aesthetic procedure being performed.
Step 8: Post-Procedure Care
- Provide post-procedure care instructions to the patient, including any restrictions on activities, potential side effects, and follow-up appointments.
- Monitor the patient for any adverse reactions or complications.
It’s important to note that the exact steps and protocols for PRP preparation may vary depending on the PRP kit’s manufacturer, the intended use, and the healthcare provider’s preferences. Therefore, it’s crucial to follow the specific instructions provided with the PRP kit being used and to adhere to best practices for aseptic technique and patient safety throughout the procedure. Additionally, healthcare providers should have the necessary training and expertise to perform PRP therapy safely and effectively.


